How to set up browser profiles in Dolphin {anty}
Blog » How to set up browser profiles in Dolphin {anty}
Although Dolphin{anty} anti-detect browser has an intuitive interface, some new users have questions about how to configure the browser profile and basic functions.
We’ve put together a step-by-step guide on how to set up a Dolphin{anty} browser profile and shared information on some useful features.
What to do before setting up the profile☝️
To get started with the browser, do two things:
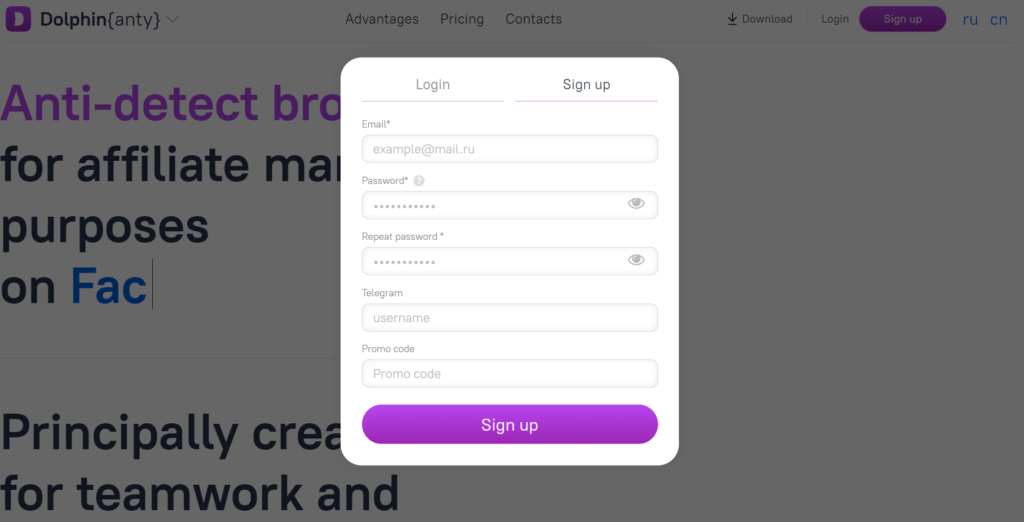
- Register on the dolphin{anty} website.Be sure to fill out only the fields below the asterisk
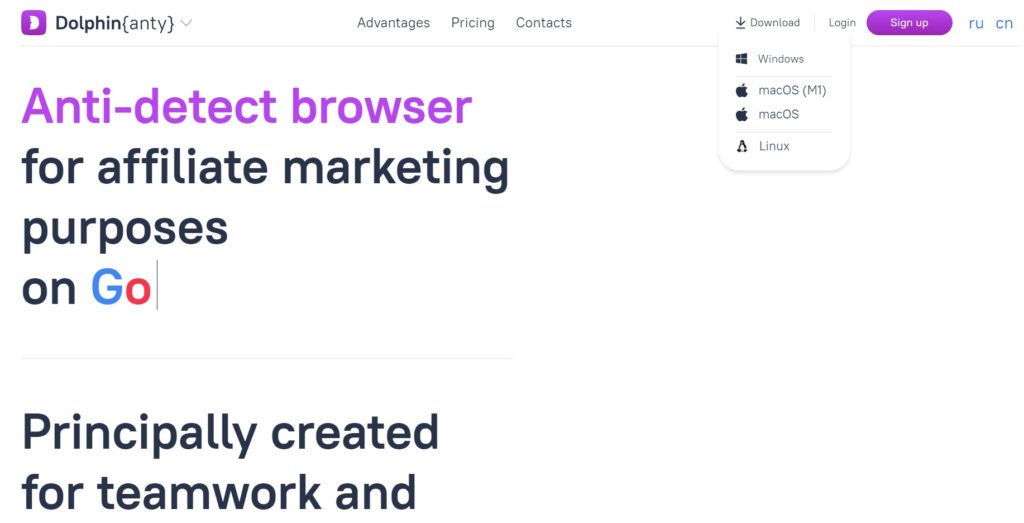
- Download the anti-detect browser from Dolphin{anty} website
After registering, all users automatically get a free plan with 10 browser profiles.
How to create a browser profile
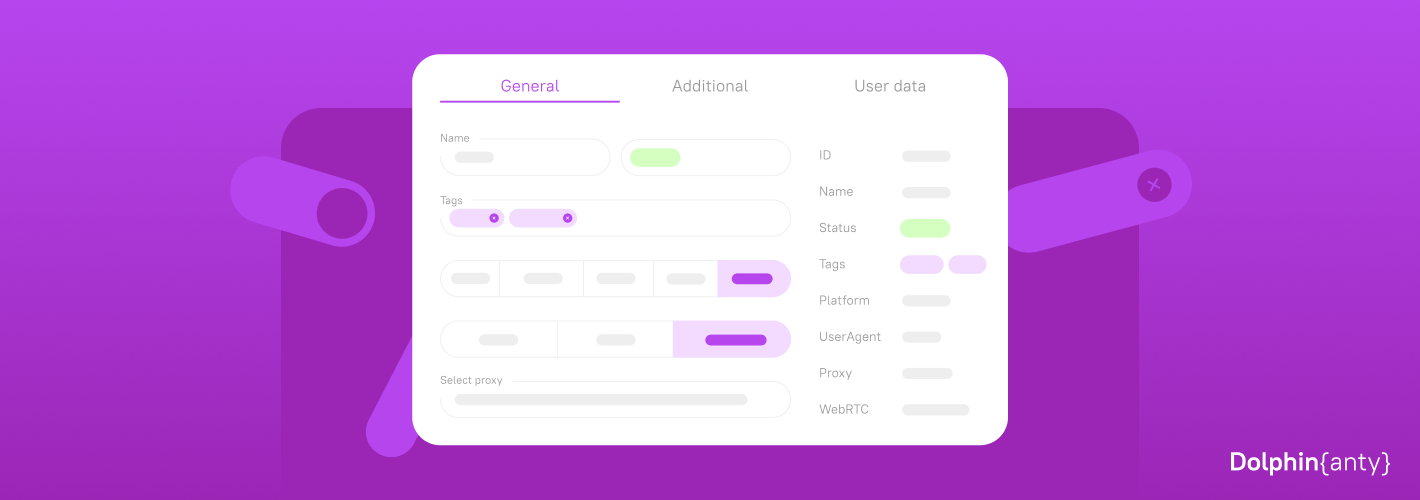
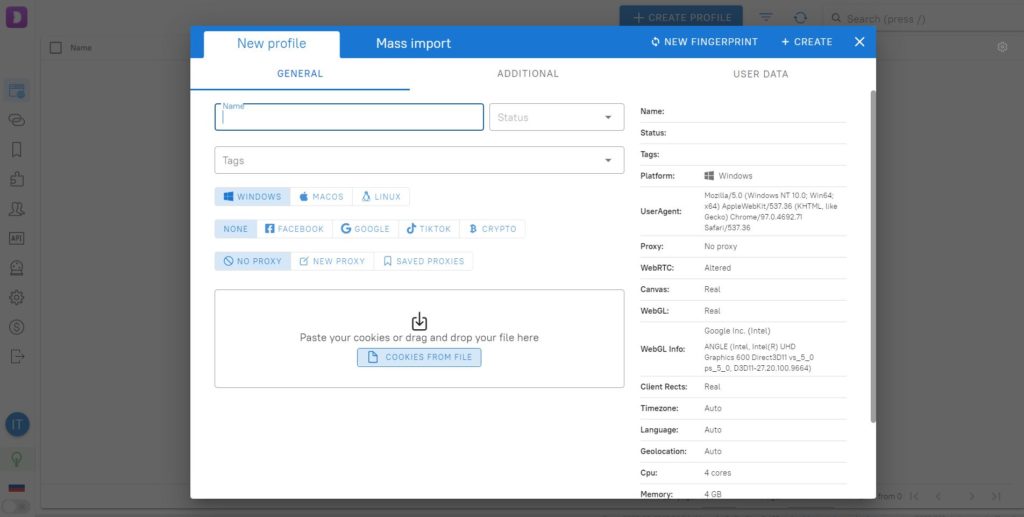
- Click «Create Profile»

- Come up with a name for the profile.
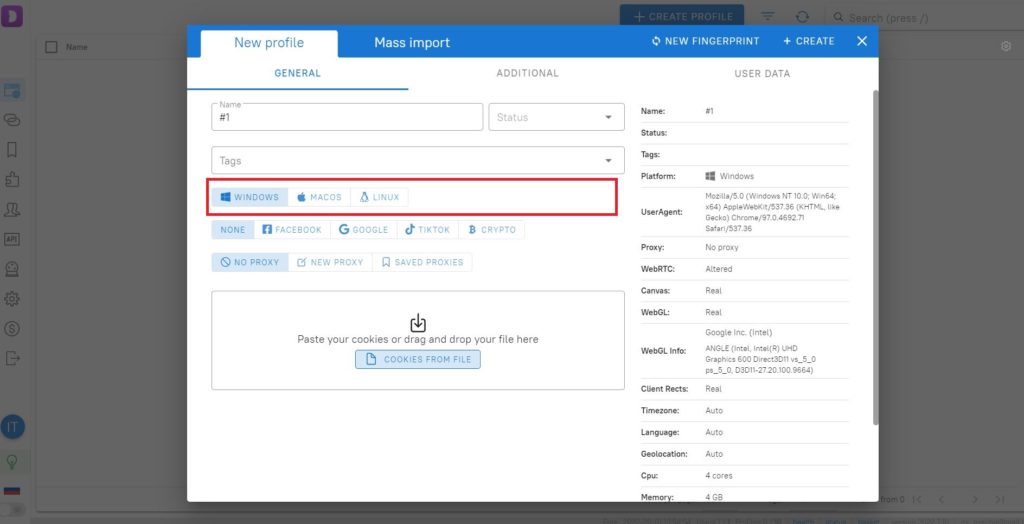
- Select an operating system. We recommend you to select the operating system of your device. This is because each operating system has its own individual system fonts. If you select macOS for a Windows device, the website’s security systems may see the difference in fonts and realize that you are trying to hide your digital fingerprint. This can lead to a more detailed check of your actions on the website, or even to blocking.
- Choose the type of profile. We have four options to pick from: Facebook, Google, TikTok, and Crypto. This decision will not affect the quality of the fingerprint, but it will help you to filter and find the profiles you need faster.
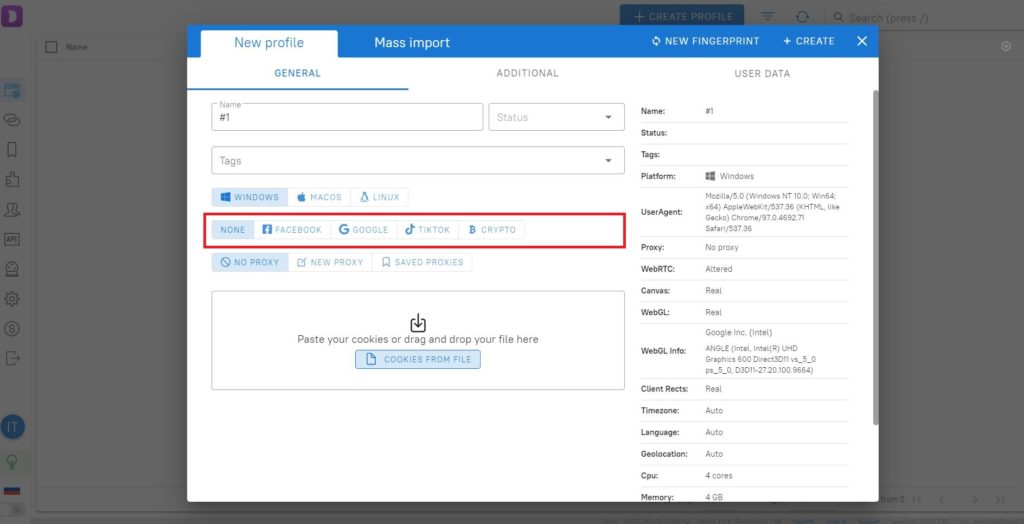 Moreover, when you indicate a website for which you require a profile, we automatically fill your bookmarks with pages for quick access. If they do not suit you, you can adjust your bookmarks.If you can’t select a website, just select none.
 - Set proxies and cookies.If you do not use proxies and cookies, skip to step 6.To set up a proxy, click «new proxy», select the type of proxy and in the «proxy» field specify its data. The field «link to change the IP» should be filled only for those who use mobile proxies. You can use it to update proxies from the main page with a list of all profiles.You have to use separate proxies for each individual profile. Otherwise, the fingerprint will not be unique. Read more about how to choose proxies for anti-detect browsers in our article.
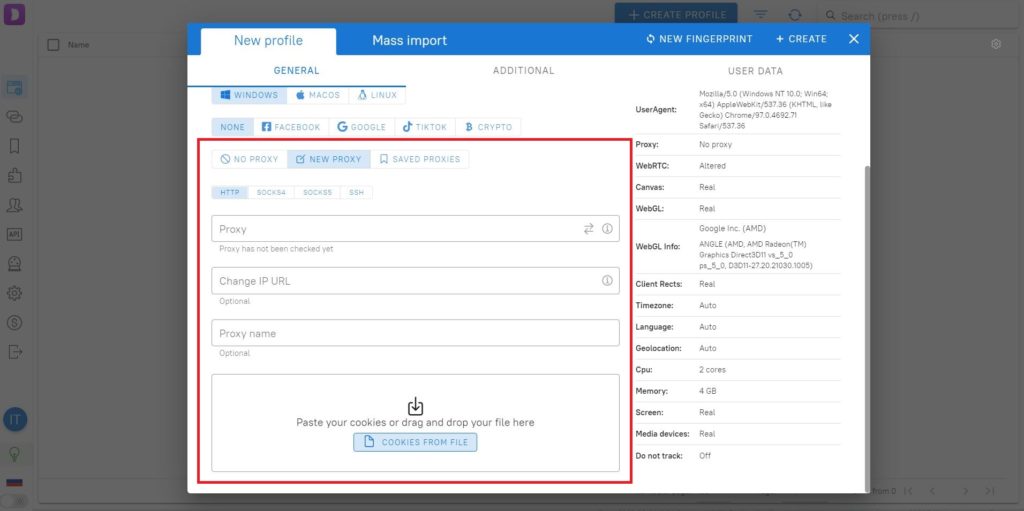 You can transfer cookies if you use a purchased account. You can use them to log in to the account without using a username and password. The Dolphin{anty} anti-detect browser only uses digital fingerprints of real users. If you need to configure individual parameters of the digital fingerprint yourself, go to the «Additional» tab.
 In a digital fingerprint, each parameter is related to the other. For this reason, we recommend adjusting or changing individual parameters yourself only if you know for sure how that parameter combines, affects and works with other parameters.If you did not receive recommendations from our support or from our Telegram chat, be careful with manual changes of the print: they may reduce the quality of your fingerprint.
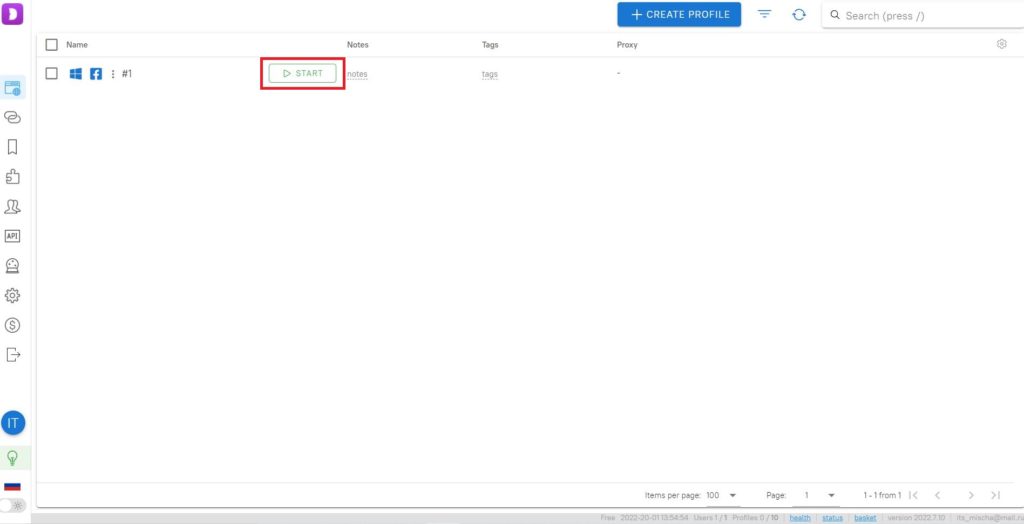
 - Click «Create profile».Once you do, the profile will appear in the general profile list.
- Click «Start».
 After a couple of seconds, the browser window will open up. Since for the example we’ve created a browser profile for Facebook, you can see that the window already contains the bookmarks of useful Facebook pages that users need most often to work with the social network.
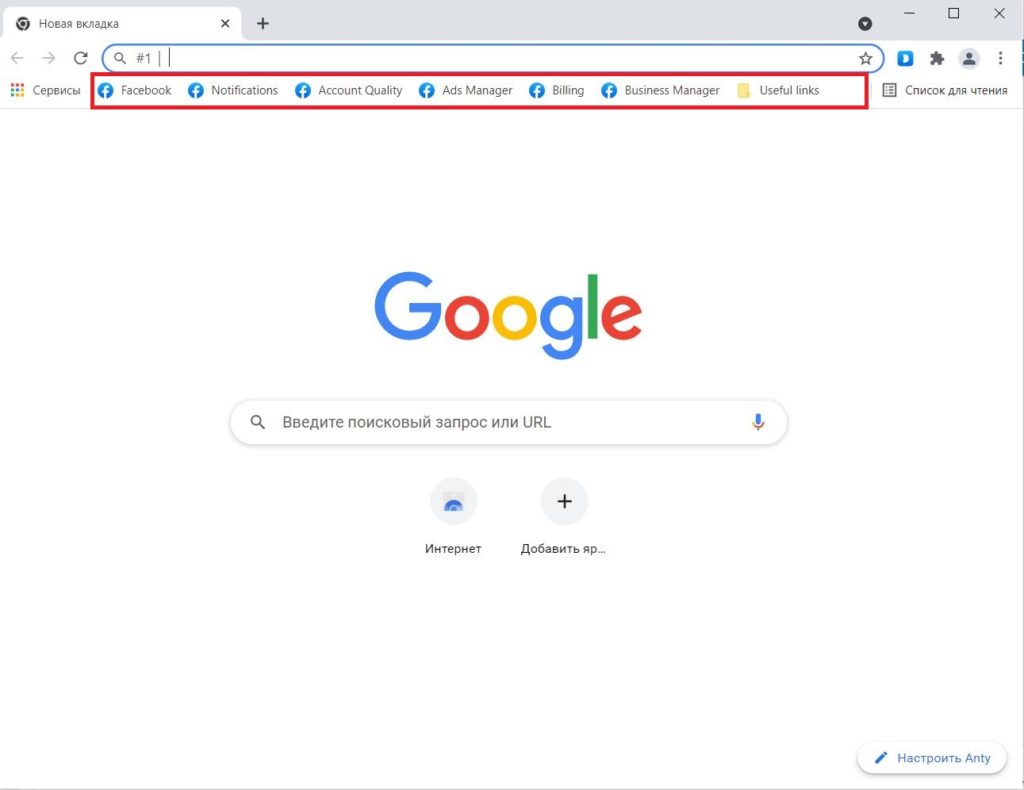
To complete your profile, simply close the browser window.
An overview of some Dolphin{anty} features👍
Below, we’ve gathered some browser features that beginner users may not know about.
✅ Setting up statuses and homepages
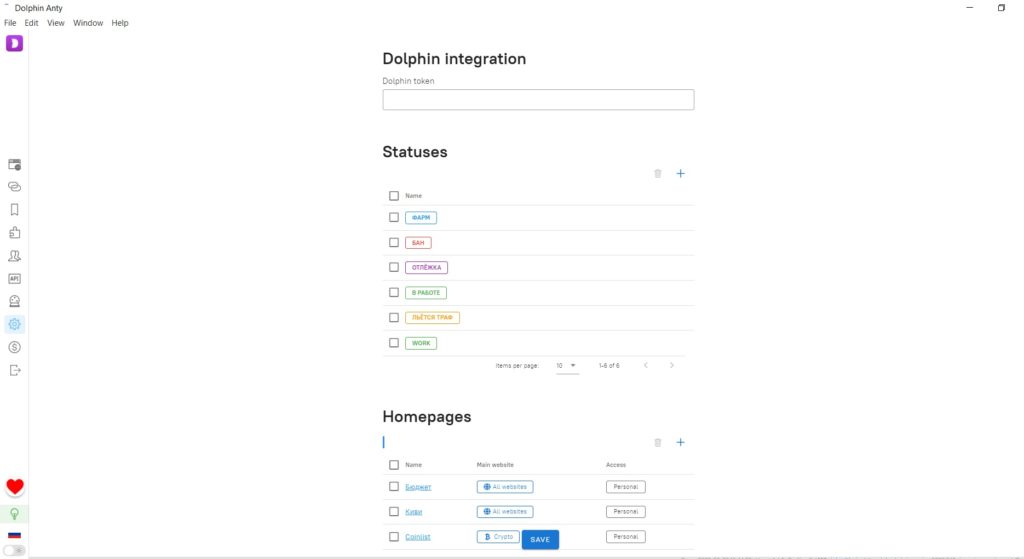
In the «Settings» block, you can customize starting pages for profiles and make up statuses for them.
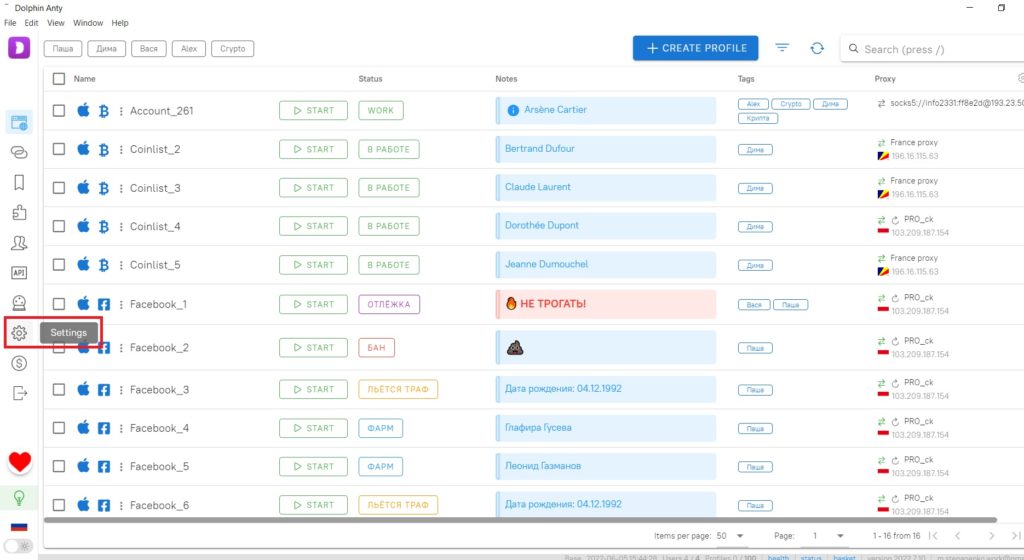
This will help you find the profiles you want faster and load frequently used pages. You can make up your own status names. For example, they might look like this:
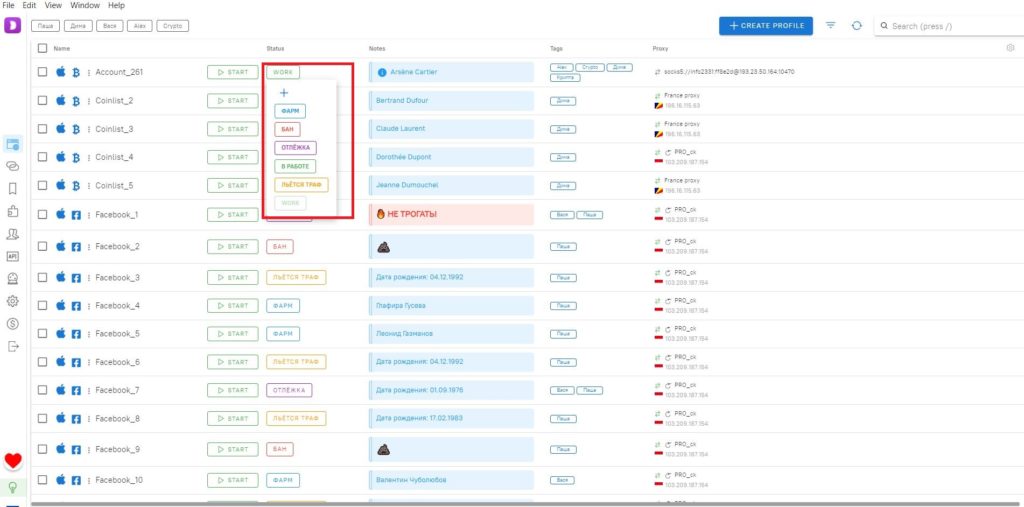
Statuses can be configured not only in the «Settings» — «Statuses» tab, but also directly from the list of browser profiles. To do this, just click on the status of any profile, and then select the desired one or add a new one:
 🧩 Extensions
All the extensions added to Dolphin{anty} can be customized depending on when you use them most: with Facebook, TikTok, Google, Crypto, or all of these websites.
It helps to automatically load them to the profiles that are used to work with specific websites.
By adding frequently used extensions to the «extensions» tab, you can pre-install them on all profiles you create in the future.
Also, all extensions can be downloaded to the browser as an archive. Extensions can be downloaded not only from the Chrome Store, but also directly from your device. This can be useful, for example, if you have self-written extensions.
To do this:
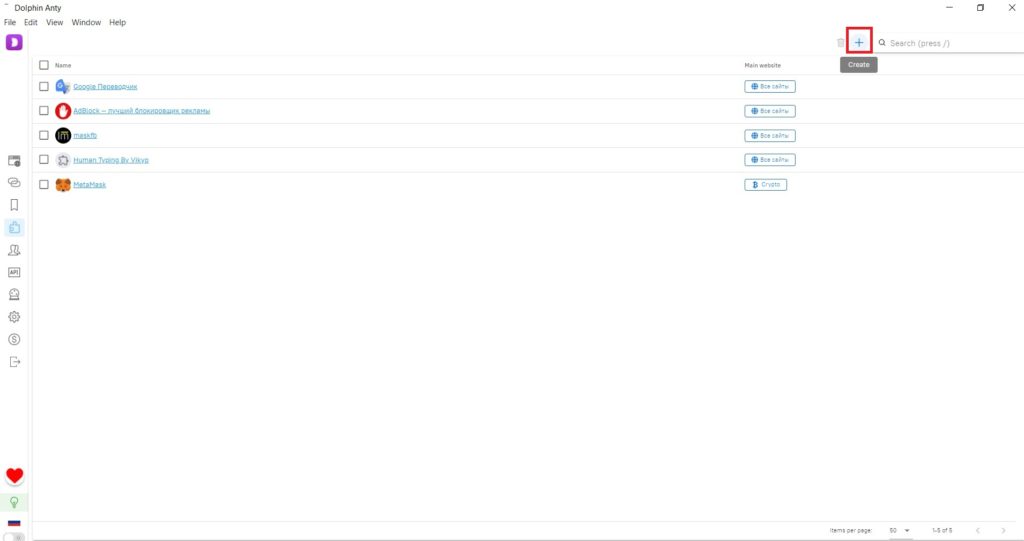
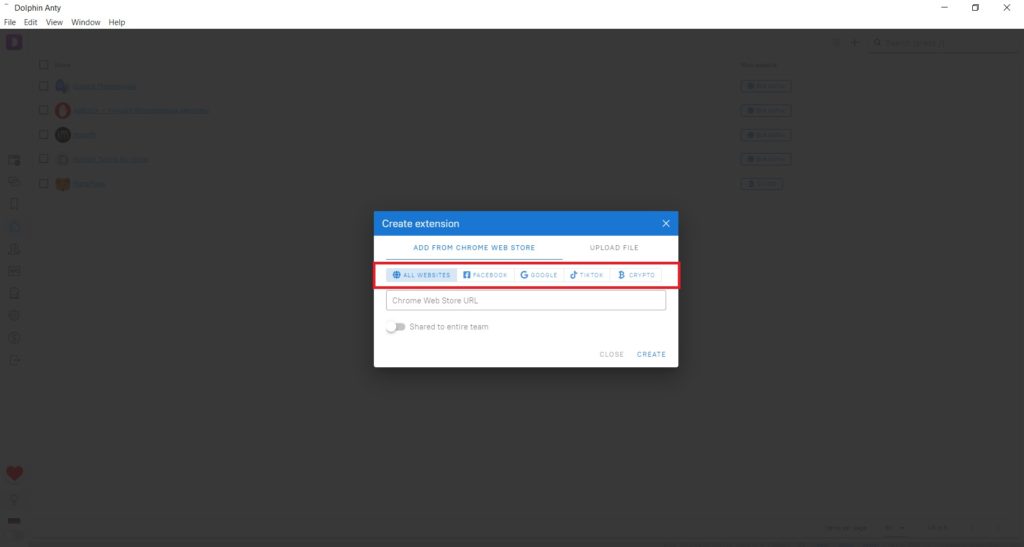
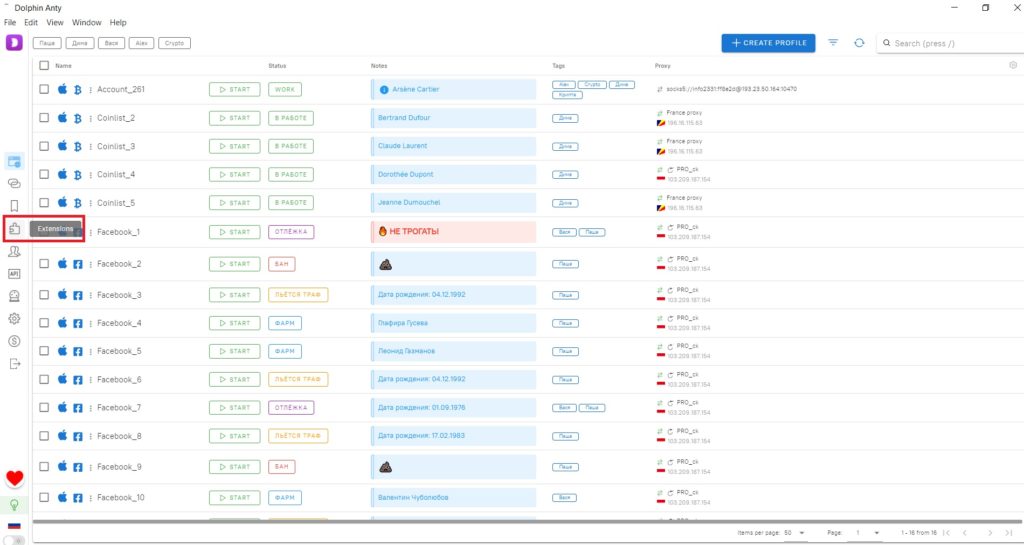
- Open the «Extensions» tab.
- In it, select where you want the extensions from: the Chrome web store or your device.

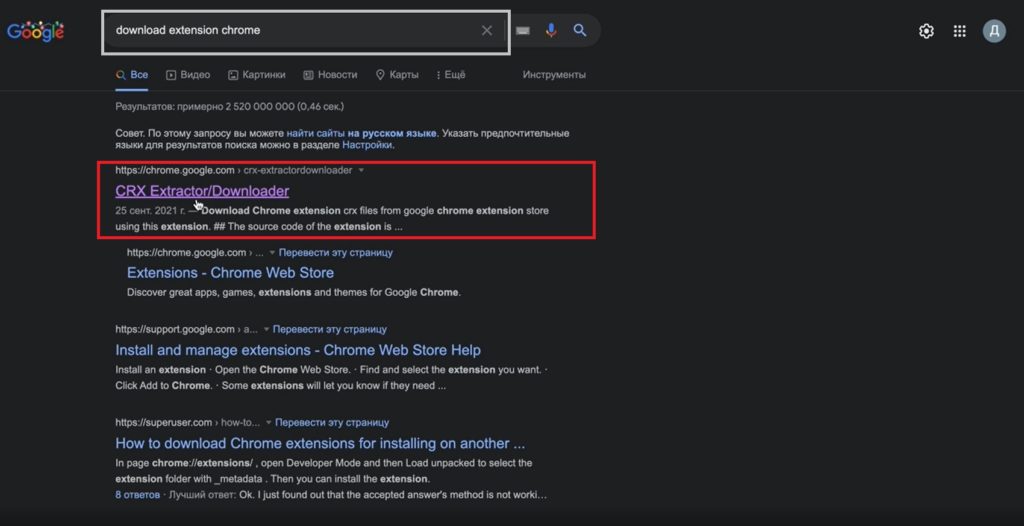
- If you need to download an extension for your device: Type in the search: «download chrome extension», then select CRX Extractor. CRX Extractor is an extension for downloading extensions.
- Install this extension on your device.
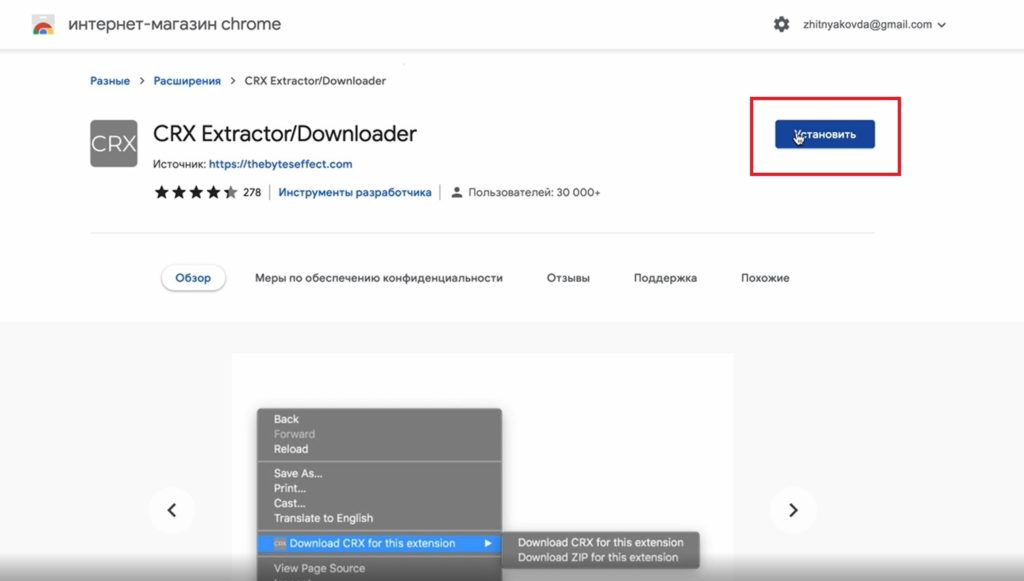
After installing the extension, you will be able to download any extensions as an archive.
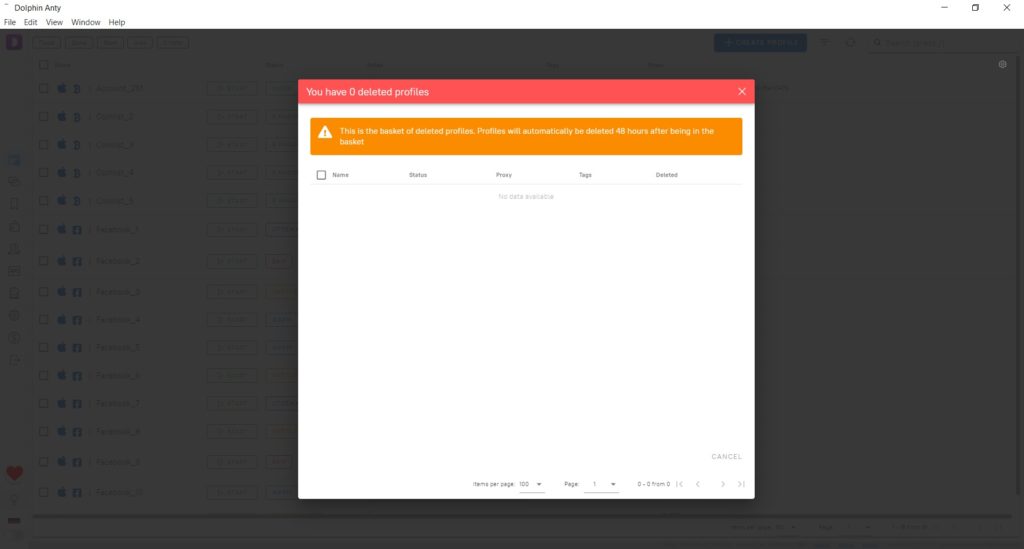
🗑 Basket with deleted browser profiles
You can restore any profile that has been deleted within the last 48 hours. Only after that, the profile will disappear from the system irretrievably.
To see deleted profiles, go to the Basket:

To restore a specific profile, highlight it and click «Restore».
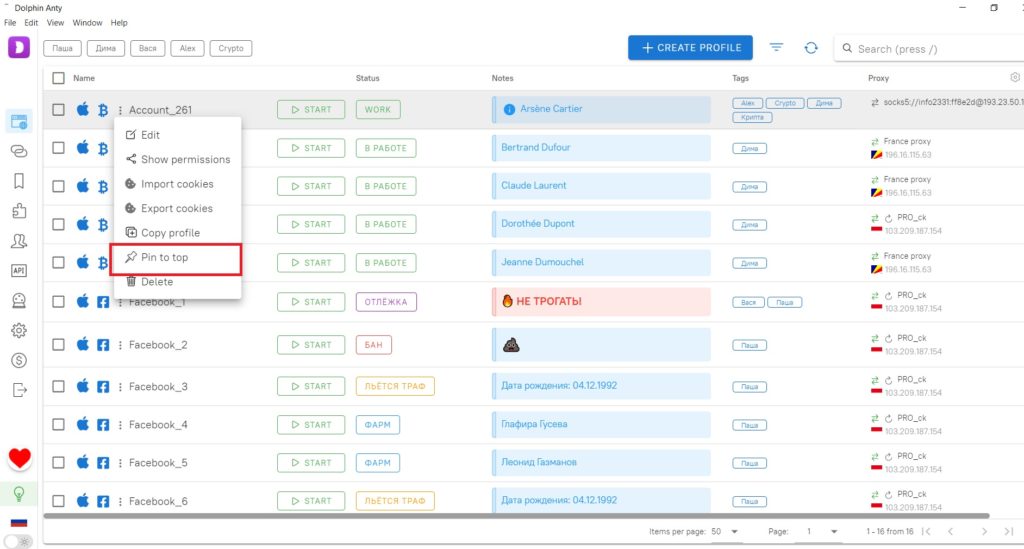
📌 Pin Browser Profiles to the Top
To do this, hover over the desired profile, click on the triple dot and select «Pin on top». You can pin a maximum of 10 profiles.
✍️ Smart paste
This feature simulates manual typing on the keyboard. So, when you paste text from the clipboard, you’ll see on the screen as if the text is typing itself.
This is an important feature because more and more anti-fraud systems analyze the smallest actions of a user on a site. For example, whether the user scrolls the screen and whether he or she is typing in text or copying from the clipboard. Copying a username and password from the clipboard signals to the systems that this may not be a real user and that it is better to look after his behavior.
To use this feature, select smart paste when pasting text.